What a Sourdough Starter Actually Is
A sourdough starter is flour and water that has become home to wild yeast and lactic acid bacteria. Beyond those two ingredients, nothing is added: the microbes arrive on the flour and from the air in your kitchen, and they multiply every time you feed them.
The yeast produces the gas that lifts bread. The bacteria produce the acids that give sourdough its tang and help the dough hold together. Feed the culture on a regular rhythm and it settles into a stable community. Starve it, bake it, or freeze it out, and it goes quiet.
Two words show up in every starter guide: active, meaning bubbly and risen, and peak, meaning the moment just before the rise starts to fall back. A starter at peak leavens bread well. One that has already collapsed is hungry rather than ruined, but it will not lift a loaf reliably until it has been fed again.
Treat your starter as a rhythm rather than a recipe. Ten days of steady feeding matters far more than one perfect measurement.
What You Need Before You Start
Everything here is ordinary kitchen equipment.
- A clear 1-quart jar, so you can see how high the starter rises
- A digital kitchen scale that reads in grams
- A spoon or spatula for stirring
- A loose cover: a cloth, a coffee filter, or a jar lid set on without tightening
- Unbleached all-purpose, bread, whole wheat, or rye flour
- Lukewarm water, ideally filtered if your tap water is heavily chlorinated
- A warm spot that stays around 70–78°F
Flour choice matters less than people expect. All-purpose works fine. Whole wheat and rye ferment faster because they carry more of the microbes and minerals a starter needs, which makes them useful when a culture is slow to get going.
Set your expectations before you mix anything: a brand-new starter usually needs one to two weeks of daily feeding before it can raise a loaf, and about five minutes of hands-on work a day. The rest is waiting.
How to Build It From Scratch
Day 1. Add 50 grams of flour and 50 grams of lukewarm water to the jar. Stir until no dry flour remains. Scrape the sides down, cover loosely, and leave it at room temperature for 24 hours.
Day 2. You may see a few bubbles, or nothing at all. Stir once. If bubbles have appeared, start feeding. If not, wait one more day.
Days 3 to 7. This is where the routine begins. Once a day, or twice a day if your kitchen is warm, discard all but about 50 grams of starter, then add 50 grams of flour and 50 grams of lukewarm water. Stir, scrape down the jar, cover, and let it sit.
Discarding is not waste. It keeps the ratio of food to culture workable, and everything you pour off can live in a second jar in the fridge for pancakes, waffles, and muffins.
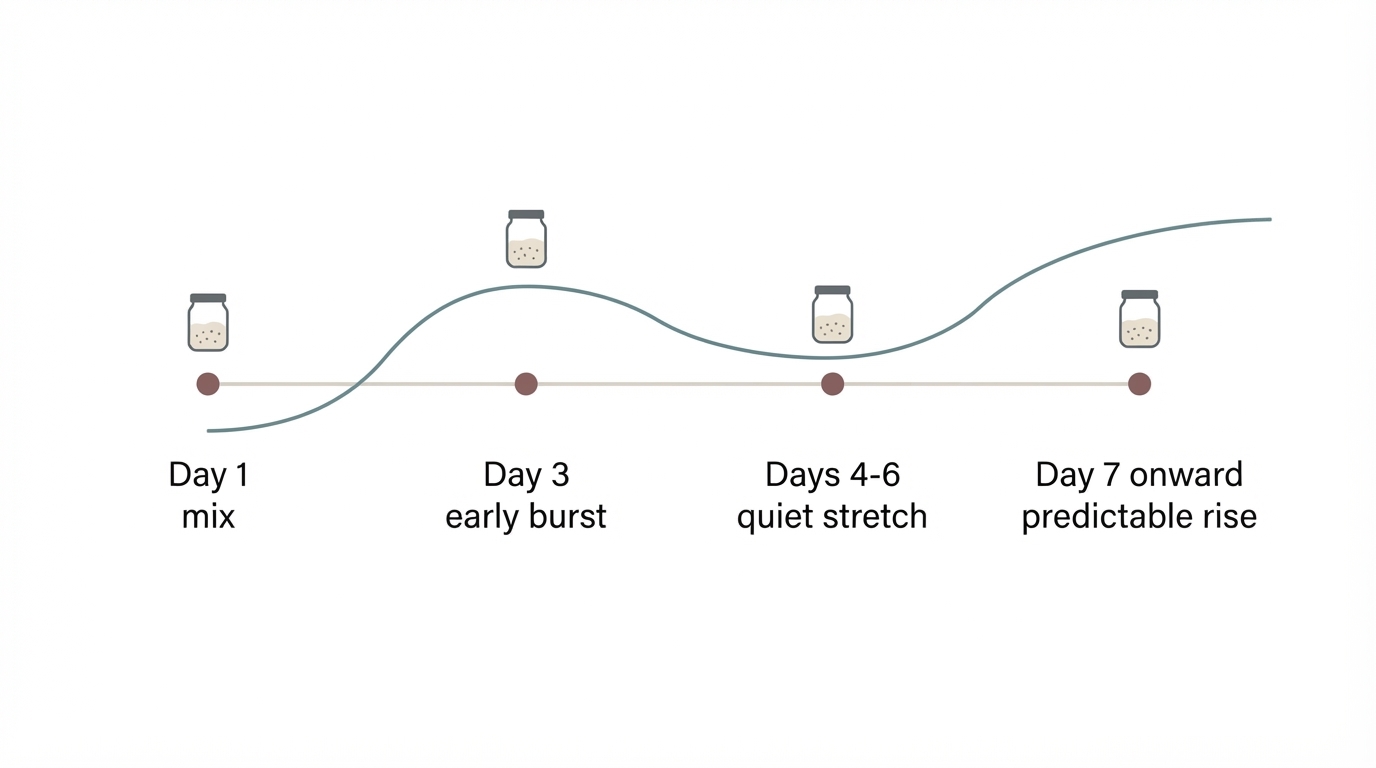
Around day 3 you may get a dramatic rise followed by a collapse. That early burst comes mostly from bacteria rather than the yeast you are trying to cultivate, and it fades within a day or two. The quiet stretch that follows is normal. Keep feeding.
Days 8 to 14. Feed less often but larger: discard down to 50 grams, then add 100 grams of flour and 100 grams of water. This gives the yeast more food and shifts the culture toward a fuller flavor. Feed twice a day if your schedule allows. When the starter doubles reliably within a few hours of every feeding, it is ready to bake with.
If you would rather follow a set sequence than improvise one, The Rustic Bakehouse has a beginner starter guide written as a 4-step, day-by-day schedule with twice-daily feedings. It uses the same readiness check described below: the starter is ready when it doubles in volume within 4 to 8 hours.

Beginner guide article: bubbly sourdough starter hero photo with the H1 'Sourdough Starter: A Beginner's Simple & Efficient 4-Step Guide'.
Feeding Ratios, Without the Math
Every feeding is a ratio of starter to flour to water, measured by weight. Writing it as 1:1:1 means equal parts of all three.
Ratio | Example | When it makes sense | Time to peak |
|---|---|---|---|
1:1:1 | 50 g starter, 50 g flour, 50 g water | Once-a-day upkeep at room temperature | About 3–5 hours |
1:2:2 | 50 g starter, 100 g flour, 100 g water | Twice-daily feeding, or building strength | About 4–6 hours |
1:5:5 | 20 g starter, 100 g flour, 100 g water | Weekly baking, or before a big batch | About 6–10 hours |
1:1:1, then refrigerate | 50 g of each | Pausing for a week or more | Days, not hours |
Two rules make all of this easier. Weigh everything, because a cup of flour can vary by 20 percent or more depending on how it is scooped. Then aim for a consistency like thick pancake batter: runny means add a little flour, stiff means add a splash of water.
What to Look For at Each Stage
- Days 1–2: almost nothing, or a few small bubbles. That is expected.
- Day 3: a sudden rise, sometimes a doubling, then a collapse. Normal, and temporary.
- Days 4–6: often the quietest stretch. The smell can turn sharp, cheesy, or faintly like acetone.
- Day 7 onward: the culture begins to behave predictably.
A starter is ready to bake when most of the following are true:
- It doubles in volume within about 4 to 8 hours of a feeding.
- The top is domed rather than flat or sunken.
- The interior looks spongy and webbed when you pull a spoon through it.
- It smells tangy and yogurt-like, not harsh or like nail polish.
- A small spoonful floats when dropped into a glass of water. The float test is rough, but a float plus a domed top is a good sign.
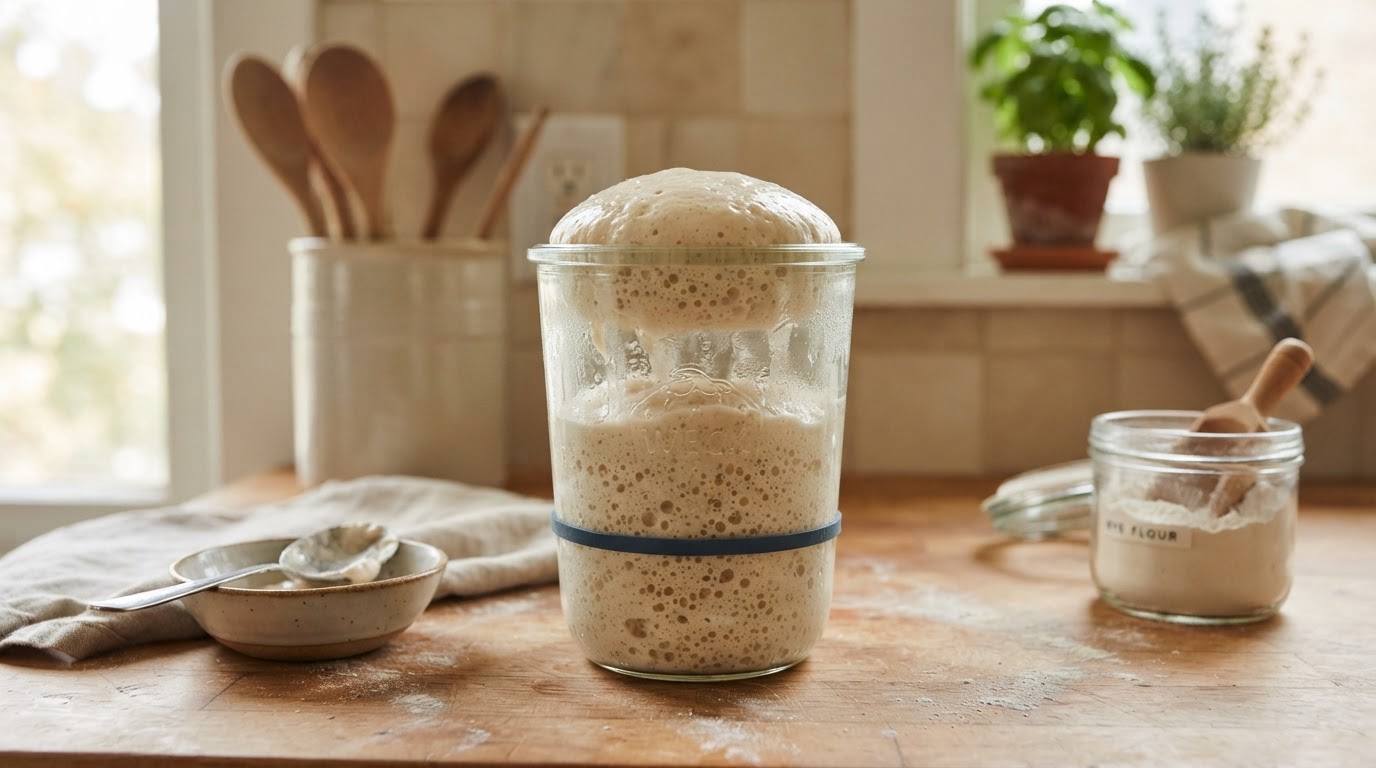
If it meets three of those five, give it another two or three days of consistent feeding before you judge it.
A Week in the Life of a Starter
How often you feed depends on how often you bake.
If you bake every week, keep the starter in the fridge. Take it out the day before you mix, feed it at 1:5:5, and let it come to peak on the counter. Mix your dough while it is domed, then feed the leftovers and put them back in the fridge.
If you bake several times a week, keep it on the counter and feed it once a day at roughly the same time. That consistency is what makes the rise predictable.
If you are stepping away, feed it thick, with slightly more flour than water, and refrigerate. A starter can sit for a week or two without harm, though it will need a couple of warm, regular feedings to wake back up before it bakes well.
When Something Goes Wrong
It will not rise after feeding. The usual causes are a cold kitchen, feeding too rarely, chlorinated water, or a starter that is still young. Move it somewhere warmer, feed on schedule, and give it a week.
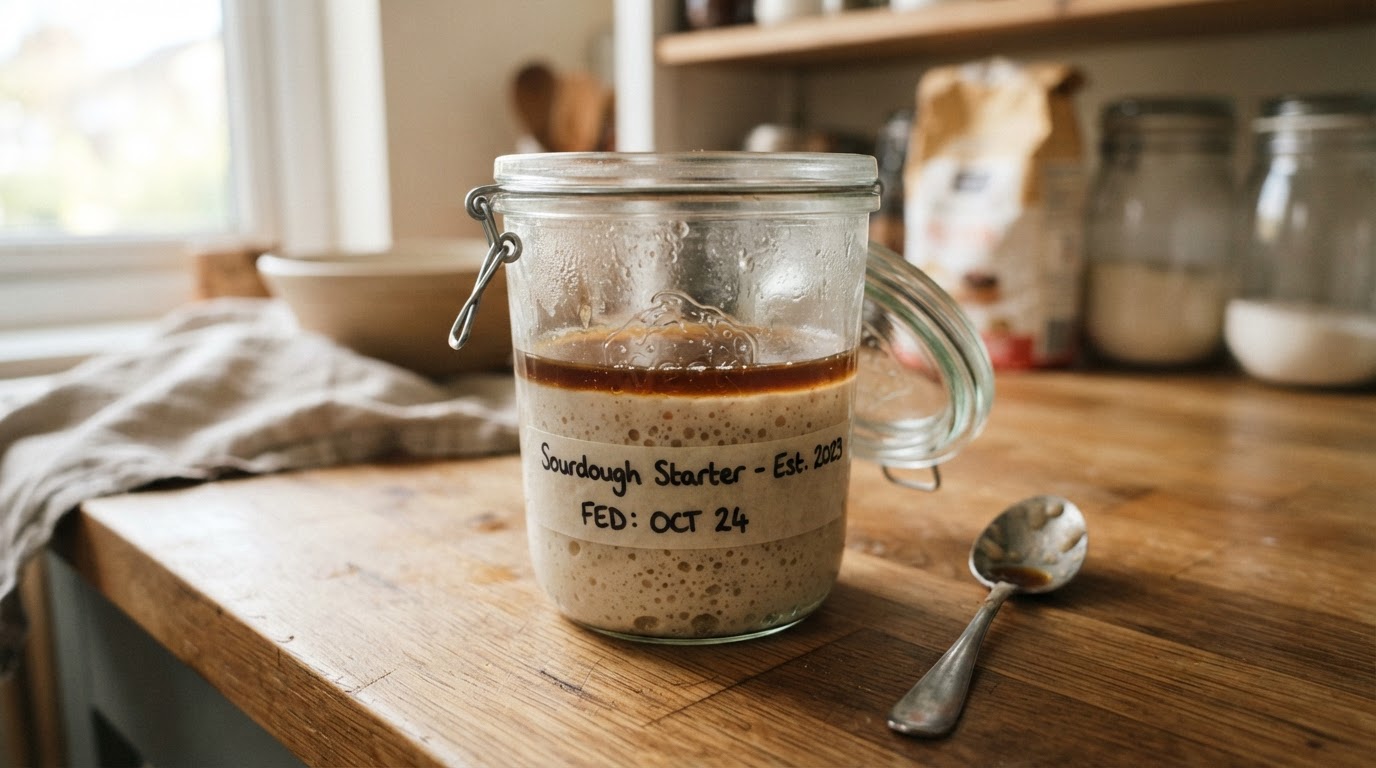
Dark liquid on top. That is hooch, the alcohol and water left behind by hungry yeast. It means the starter is hungry, not dead. Pour it off or stir it in, then feed at a larger ratio.
It smells sharply vinegary or like acetone. The culture has run out of food. Discard more, feed at 1:5:5, and repeat for two or three days at room temperature.
It is slow after a long stay in the fridge. This is normal. Feed it twice a day in a warm spot and it usually recovers within a few days.
The dough does not rise even though the starter doubles. Use the starter at its peak instead of after it has fallen, and increase the amount you put into the dough.
There is pink, orange, or fuzzy growth. Throw the whole jar out and start again. Mold and pigmented bacteria cannot be reliably removed by scooping around them, and feeding does not fix contamination. This is the one problem with no workaround.
There is also an honest caveat about storage. Refrigeration slows a starter down but does not pause it. A forgotten jar will eventually go hungry, develop a layer of hooch, or grow something you do not want. If your kitchen schedule is unpredictable, put a recurring reminder on your calendar.
Ways to Keep It Going
Keep a backup. Spread a thin layer of starter on parchment, let it dry completely at room temperature, break it into flakes, and store the flakes in a sealed jar in a cool cupboard. To revive them, soak the flakes in lukewarm water and feed as usual. A spoonful of starter frozen in a small bag works too.
Use the discard. The portion you pour off at every feeding is fully usable, which is what makes a starter pay for itself. Keep a jar of it in the fridge and fold it into pancakes, waffles, muffins, or crackers. Discard recipes usually add a little baking soda or baking powder, because discard is acidic and will not leaven on its own the way an active starter does.
Keep the jar clean. Wipe or rinse the sides every few feedings. Dried starter on the rim is harmless, but a clean jar makes it much easier to judge how far your starter has risen.
Your First Bake
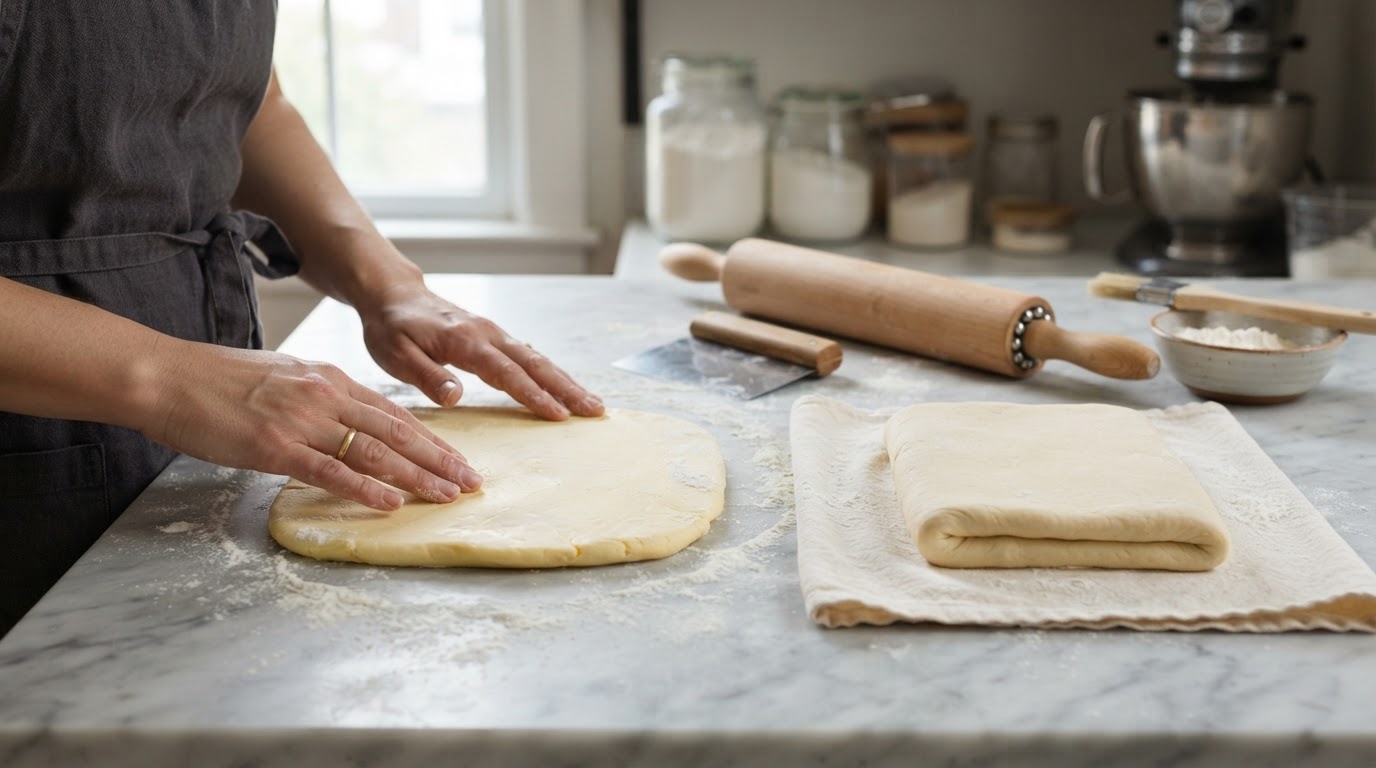
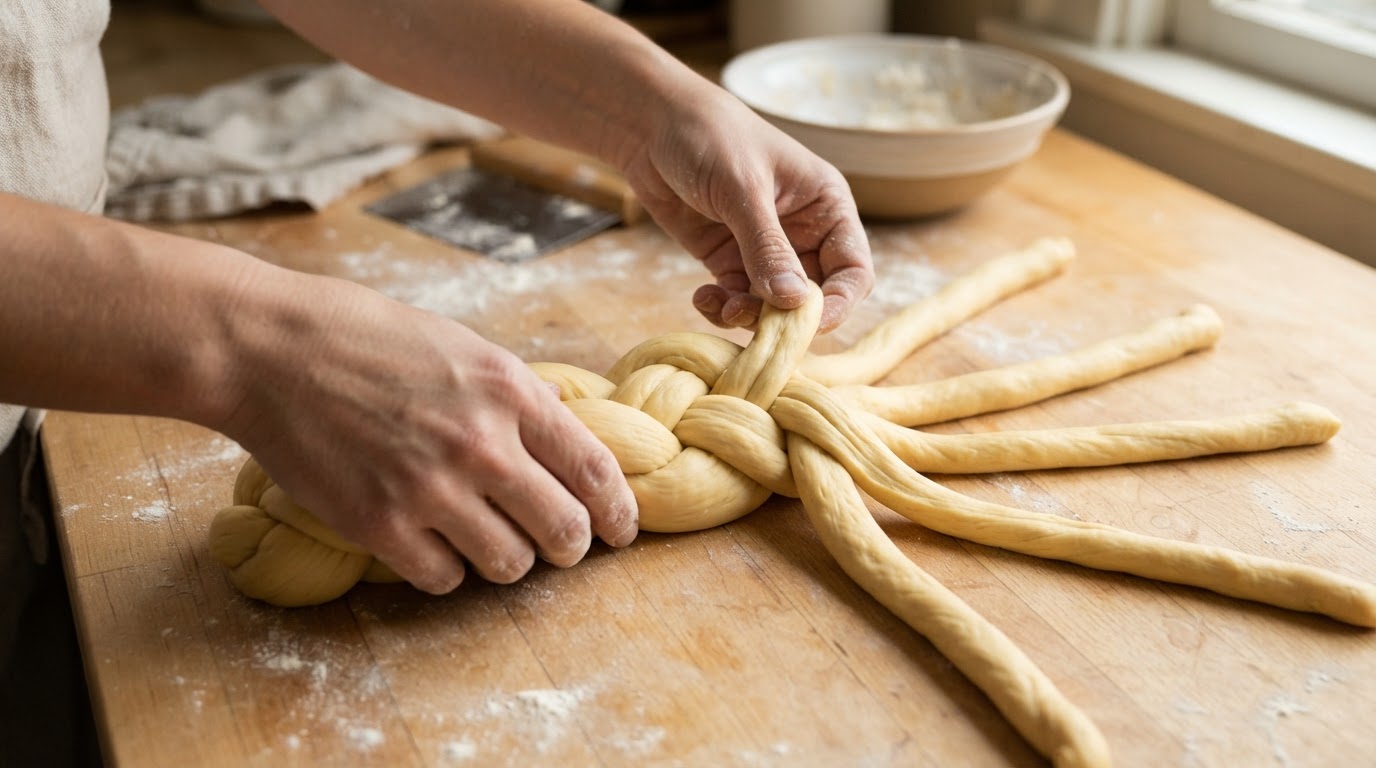
Once the starter doubles reliably, use it in a simple dough rather than a complicated one. A straightforward loaf of flour, water, salt, and a generous amount of starter lets you judge the culture without other variables getting in the way. Mix, rest, fold, shape, proof, and bake, the same steps you already know from yeasted bread, just stretched across a day or two.
Expect the first loaf to be denser than the ones you see online. That is a starter that is still gaining strength, not a baker who did something wrong. Feed it, bake with it again the next week, and it keeps improving as long as you keep the rhythm.